Showing posts with label hacks. Show all posts

Saturday, August 20, 2016

Bunny Feeding Station

This post is photo heavy - forgive me. Or not. I'm ok either way.

I have pet bunnies! Did you know that? Sugar Cookie and Henry. They're both dwarf Holland Lops, Sugar Cookie is grayer and Henry is browner. They're freakin adorable. :) They're also messy as heck, and bunnies do tend to poop while they eat. To encourage them to poop in their litter box, I keep their food dish in their litter box. And Henry likes to dump their food dish. Daily. It drives me nuts. So today I decided to make a feeding station ATTACHED TO THE WALL. That bowl isn't going ANYWHERE.


I forgot to take during photos, so here are some elaborate after photos. Cuz I'm a bad blogger for not completely documenting this. There are three stations - water bottle, food bowl, and hay manger. My goal was to build it using things I already had (minus the new food bowl).


The water bottle has two parts, the top is a piece of wire attached to an eye and secured to a hook with a loop in the wire.


The lower part supports the weight of the bottle, so I wanted something a little sturdier. I took a curtain rod support and reshaped it with a hammer, It fell a little short so I put a thin board under it rather than try to find something else to support it with.


Next we have the food dish. That was easy to attach, the bowl base has two bolts coming off the back that go between cage bars, then secures to the cage with a metal strap and some nuts. The bolts, handily enough, were just 1/4" longer than my board was thick. So I drilled a couple of holes, put the bolts through, and secured it with the nuts.


Lastly, the hay manger. It's meant to hang from cage bars also, so I gave it some wire to hang from. I made a little loop in each end of the wire and screwed it to the board through the loop with some large headed screws.


Lastly, I screwed it to the wall at the right height over the litter box, added the food dish and water bottle, and filled it all up! Henry is modeling it, below. Isn't he just too freakin cute?


Tuesday, June 21, 2016

Mermaid Hair Maintenance

HELLO Mermaid Hair! (Or unicorn hair, which is probably more appropriate with this photo - I swear the umbrella in the painting wasn't intended to look like I have a unicorn horn. Just a REALLY AWESOME coincidence.)

So - you went to the salon or DIY'd it, and now you have funky colored hair. NOW WHAT??? How do you maintain your lovely locks to keep that color as vibrant as possible as long as possible?

Want to know the big secret?

DON'T WASH YOUR HAIR.

For reals.

Or, rather, don't shampoo it. The thing with having hair any color of the rainbow is that it's a temporary dye. It will only last 6-8 shampoos, and after that the color will fade pretty significantly. But don't despair! With some strategic hair care, you can totally get your color to last a solid month.

So what to do instead of shampoo? Here are some alternatives and my suggestions on frequency. Keep in mind that your hair may not be as silky soft as it is when you've shampooed and conditioned - but it'll still be clean! AND it'll be healthier because you won't be stripping (shampooing) and re-hydrating (conditioning) it constantly.

1: Rinse thoroughly with water. Get your fingers up in there and scrub your scalp, loosening the oils etc so that it will rinse out. Run your fingers through, squeegee out the water, and repeat. You can do this for 3-4 days at least before your hair will start to look funny. What's awesome about this method? Your hair will be easier to style! The residual oils will actually work a little like styling balm.

2: Wash your hair with cheap conditioner. Most inexpensive conditioners have mild surfacants in them that will gently clean your hair. You'll need quite a bit to work it all the way through your hair, more than you're used to. Get it really worked in, and don't forget your scalp, and run your fingers through several times. A wide toothed comb is handy for making sure you get it all the way through. Don't leave it on your hair for long, and rinse thoroughly. The longer you leave it on the more color will wash out. Personally I love the giant containers of conditioner with pumps from Costco.

3: Use cool water. Hot water opens up the hair shaft, allowing more of the color to escape. I hear it's also better for your skin to use cooler water (hint, hint). Don't freeze or anything, hypothermia isn't worth gorgeous hair, but avoid hot showers.

4: Use a depositing conditioner every other "wash." A what? These conditioners are tinted and will leave a little bit of color behind, slowing the fade. You've probably seen them in the drug stores for blonds, brunettes, and redheads. Using a blond conditioner is great for yellow and orange hair. Go for the redhead for orange and reds. To find the cooler toned conditioners you usually have to go to a beauty supply store (or online, which is my preference because I don't like shopping) Use blue tint for blue, green, and white hairs, and purple tint for purple, blue, silver, and white hair.

5: Don't over style. The more you fry your hair the more you have to condition, and the more color will be stripped as you condition it. Also three day old styling products get icky. Go as minimal as you can, maybe instead of product all over, just do the ends of your hair, or just the fly aways. Try changing up your hair style so its a little easier. Like - blow out and style on day 1, headband or barrettes pulling the hair away from your face on day 2, and a ponytail on day 3. Or just let your hair air dry and see what happens! Maybe your natural hair inclinations are good looking all on their own.

Questions? Hit me up in the comments!

Thursday, May 12, 2016

Hack: Stuffing Pillows

As a treat to myself for my new place, I bought some new throw pillow covers! I've never done that before, I've always made them. Such a novel idea... Anyhow - I ran into the problem that I didn't have enough of the right size pillows to fill the new cases.

Note to self: Measure things before buying.

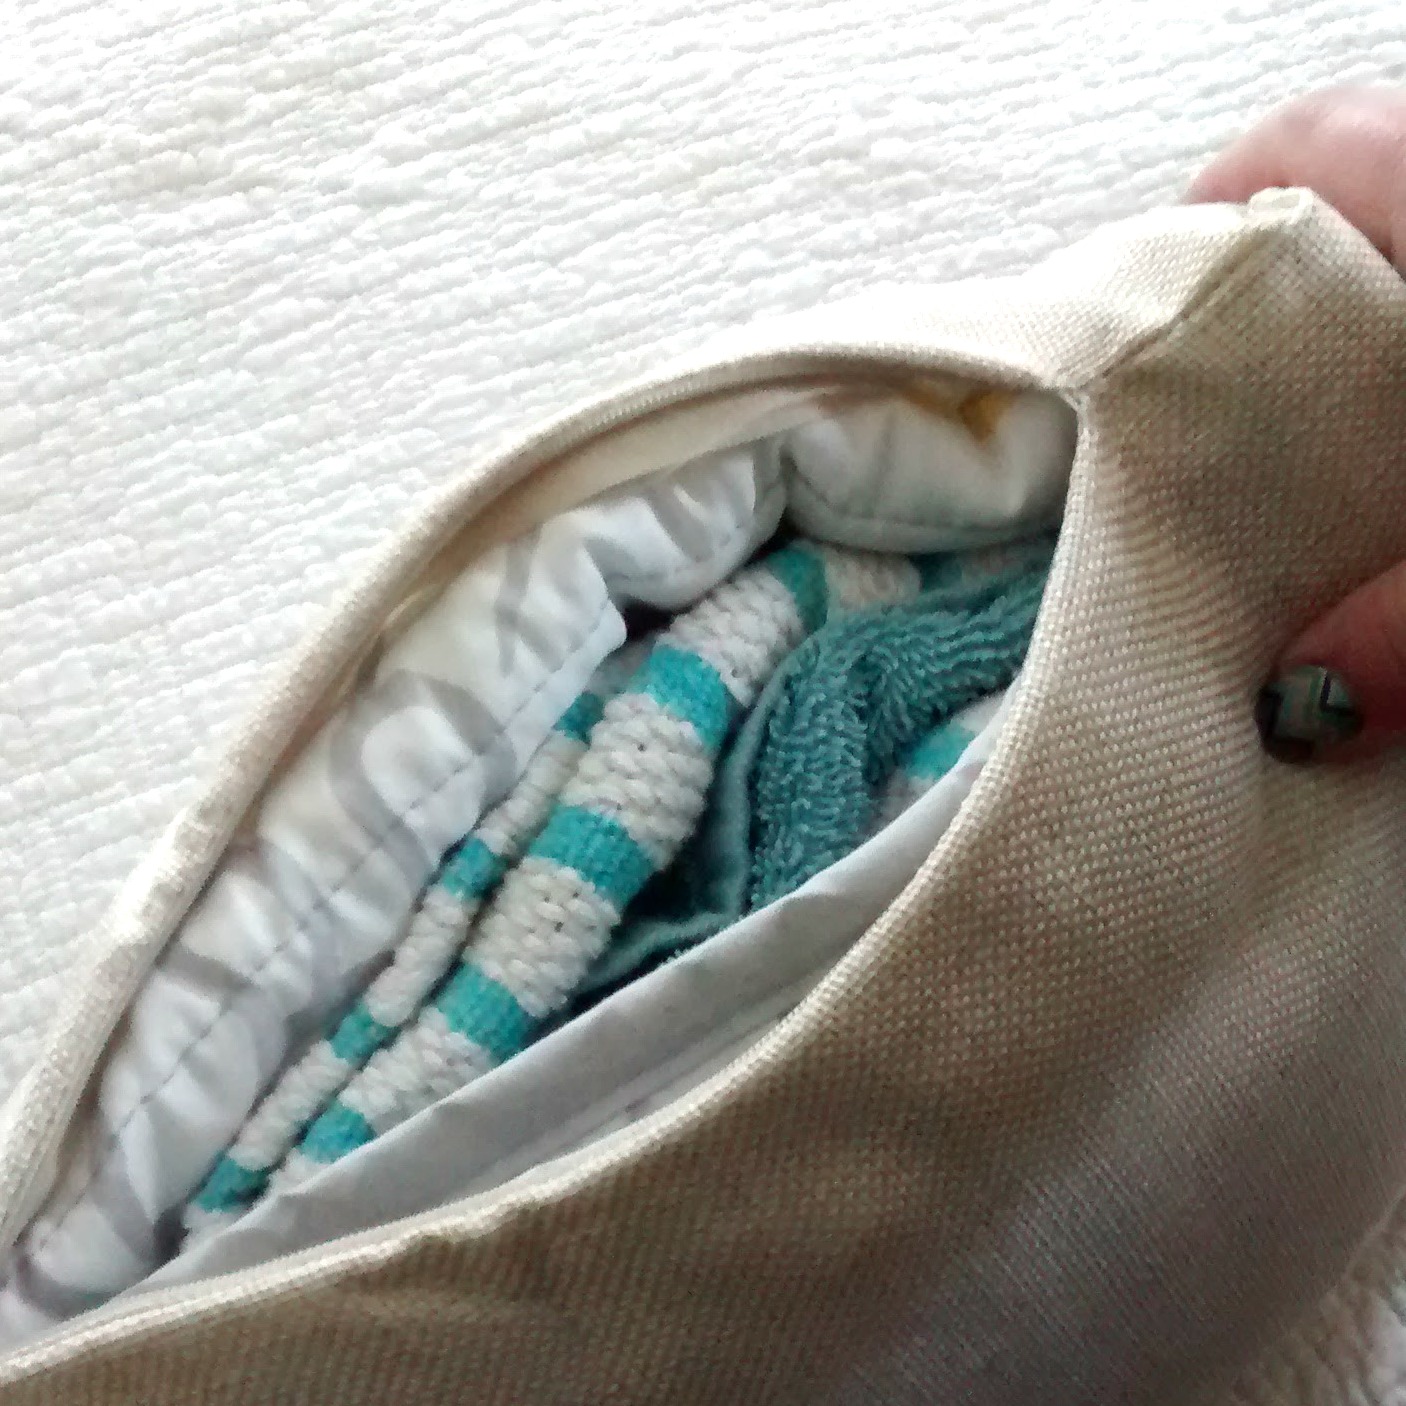
Solution: Stuff the pillows with old towels, blankets, and pillow shams!

Just take your towels etc, fold them slightly smaller than the pillow case, and try to avoid lumps. Stuff your case, and viola! Fluffy pillow.


Tuesday, May 10, 2016

Hack: Business Card Holder from Video Tape Case

Do you have a bunch of these laying around the house, collecting dust? No? Just me? Well, joke's on you because I just super-simple hacked them into business card holders. BOOM.

Start with a little video tape recording case, which is the perfect size for a business card holder. I haven't tried it with a cassette case, but that might work too. (if you ask what a cassette is, I can't help you)

Brace yourselves, this is going to get SO COMPLICATED. LOTS of steps.
Nah, I'm joking. This is super easy.

Step One: Open the case and remove the old paper (if it's still in there)


Step Two: Take the two sections apart.

Step Three: Turn the top part around.

Step Four: Carefully shove that top part into the bottom, lining the peg and holes if you can. You're just re-assembling it backwards.

Step Five: Adjust as needed so it stands up and the top part leans back slightly. Add a bit of tape on the bottom across the two pieces so they don't wiggle.

Step Six: Add your business cards and admire your amazingness.

Step Seven (optional): Make more because you are a friggen boss.